Reinstating your entity through Fast Track Filing
Administratively dissolved? Forget to file your report before the deadline? You can reinstate online through Fast Track Filing – follow these steps to find out how!
Step One:
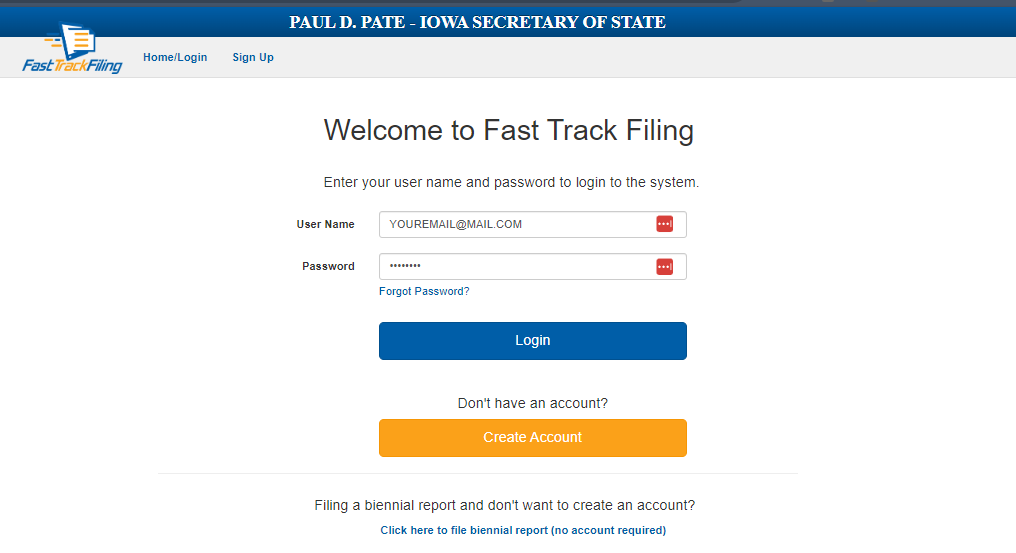
First, open your web browser and go to filings.sos.iowa.gov
Log into your account or create an account if you have not previously logged into Fast Track Filing before.
Step Two:
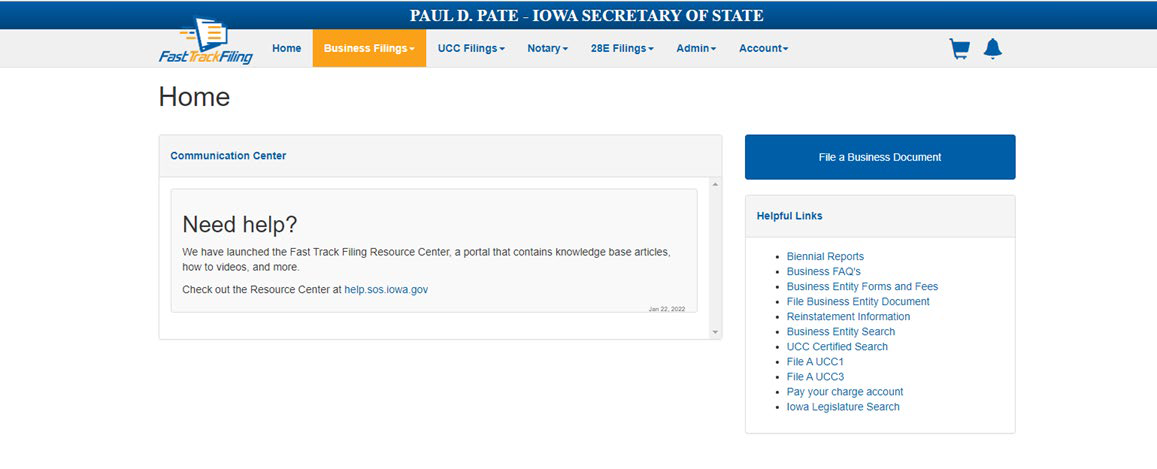
When you have successfully logged into your account, you will be directed to the homepage of Fast Track Filing. On the top border of the page, under the Secretary’s name, you will see a tab labeled Business Filings. Clicking on this tab will give you a drop-down menu where you will select File a Document.

Step Three:
Once you have clicked on File a Document, you will be directed to the File a Document page that lists all of the filings that are available to submit online.
Scroll down the page to the Existing Entities section and select Application for Reinstatement.
Step Four:
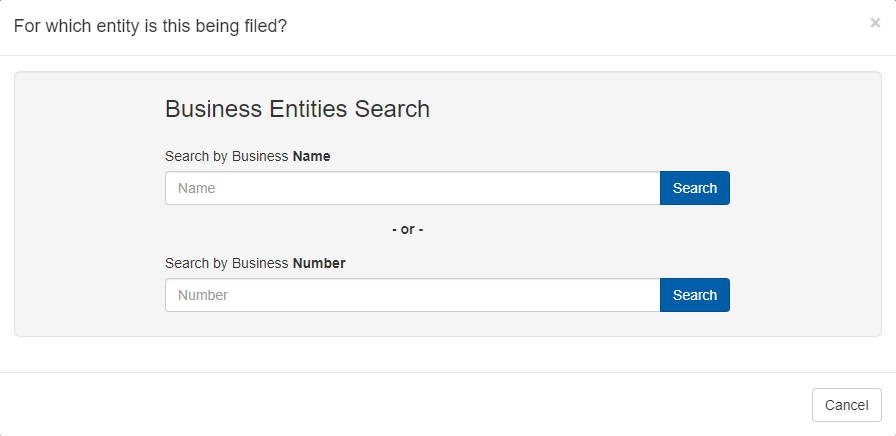
You will search for your business that you would like to reinstate. You can search by business name OR by business number.
If you search by business name, the list of results will appear below the bottom search bar, and you will need to click on the name of the company you are wishing to reinstate.
If you search by business number instead, it will take you directly to the form.
Step Five:
The first form is fairly simple. This is a request for reinstatement that is required by Iowa code. You will sign and acknowledge that you are knowingly applying to reinstate your entity.
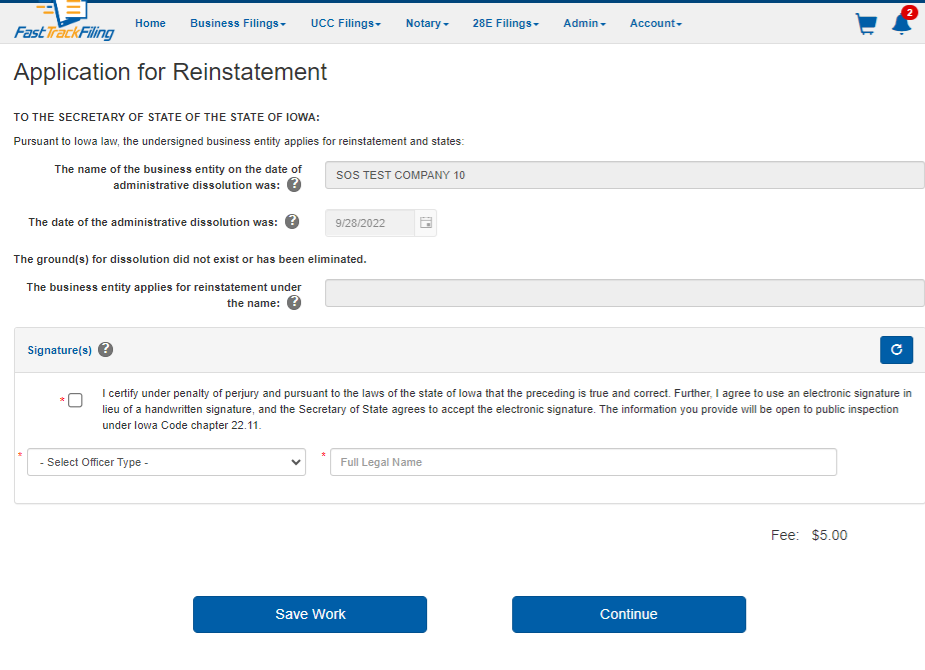
Step Six:
When you reach the bottom of the form, you will read the statement and mark the box that you understand your typed signature will replace a written signature and that the information you are submitting is true and correct to the best of your knowledge.
You will type in your name where it is indicated and select your title that shall accompany your signature.
Step Seven:
After you click “continue,” you will be directed to the first biennial report you are required to file to reinstate. If your entity has been inactive for over five years, you are only required to file the two most recently missed reports to reinstate. The system will only provide you with the reports that are required.
Fill out the information required on the form, and proceed to sign the document like you had on the previous form – acknowledging your understanding that the typed signature and information you are providing is true and correct to the best of your knowledge.
Step Eight:
After you have completed filling out the required biennial reports, you will be provided with the opportunity to update the registered agent information; if you are looking to update the agent, you will choose the Change of Registered Agent form. If you just need to update the address of the registered agent, you will choose the Change of Registered Office form. If you do not have to update any of the information on record, you can choose to skip this step.
Step Nine:
When you have filled out all of the required forms, you will be brought to a review page for your filing. It will list all of the filings that you will need to submit to reinstate.
You will review all of the filings by clicking on the + (plus sign) beside the filings. All you need to do to review is click on the + (plus sign) and as long as everything looks correct, just scroll down to the next + (plus sign).
NOTE: The filing should have Reviewed next to it when it has registered in the system that you have opened the filing to review the information. The Proceed to Payment button will not activate until you have reviewed every filing – even if you skipped the change form, you will still have the click the + (plus sign) to review it.
Step Ten:
As long as all of the information on the reinstatement form, the reports, and the agent form (if used) looks correct, you can click on the Proceed to Payment button. This will add the filing to your cart and allow you to select a payment method and check out to submit your document.